Sunday, February 23, 2014

Recycled Sweater


I took a solo trip to Ireland about 17 years ago. I had several places I wanted to hit on that trip--the Guinness brewery, the town of Ballyheigue in County Kerry where one of my great grandmothers was born...


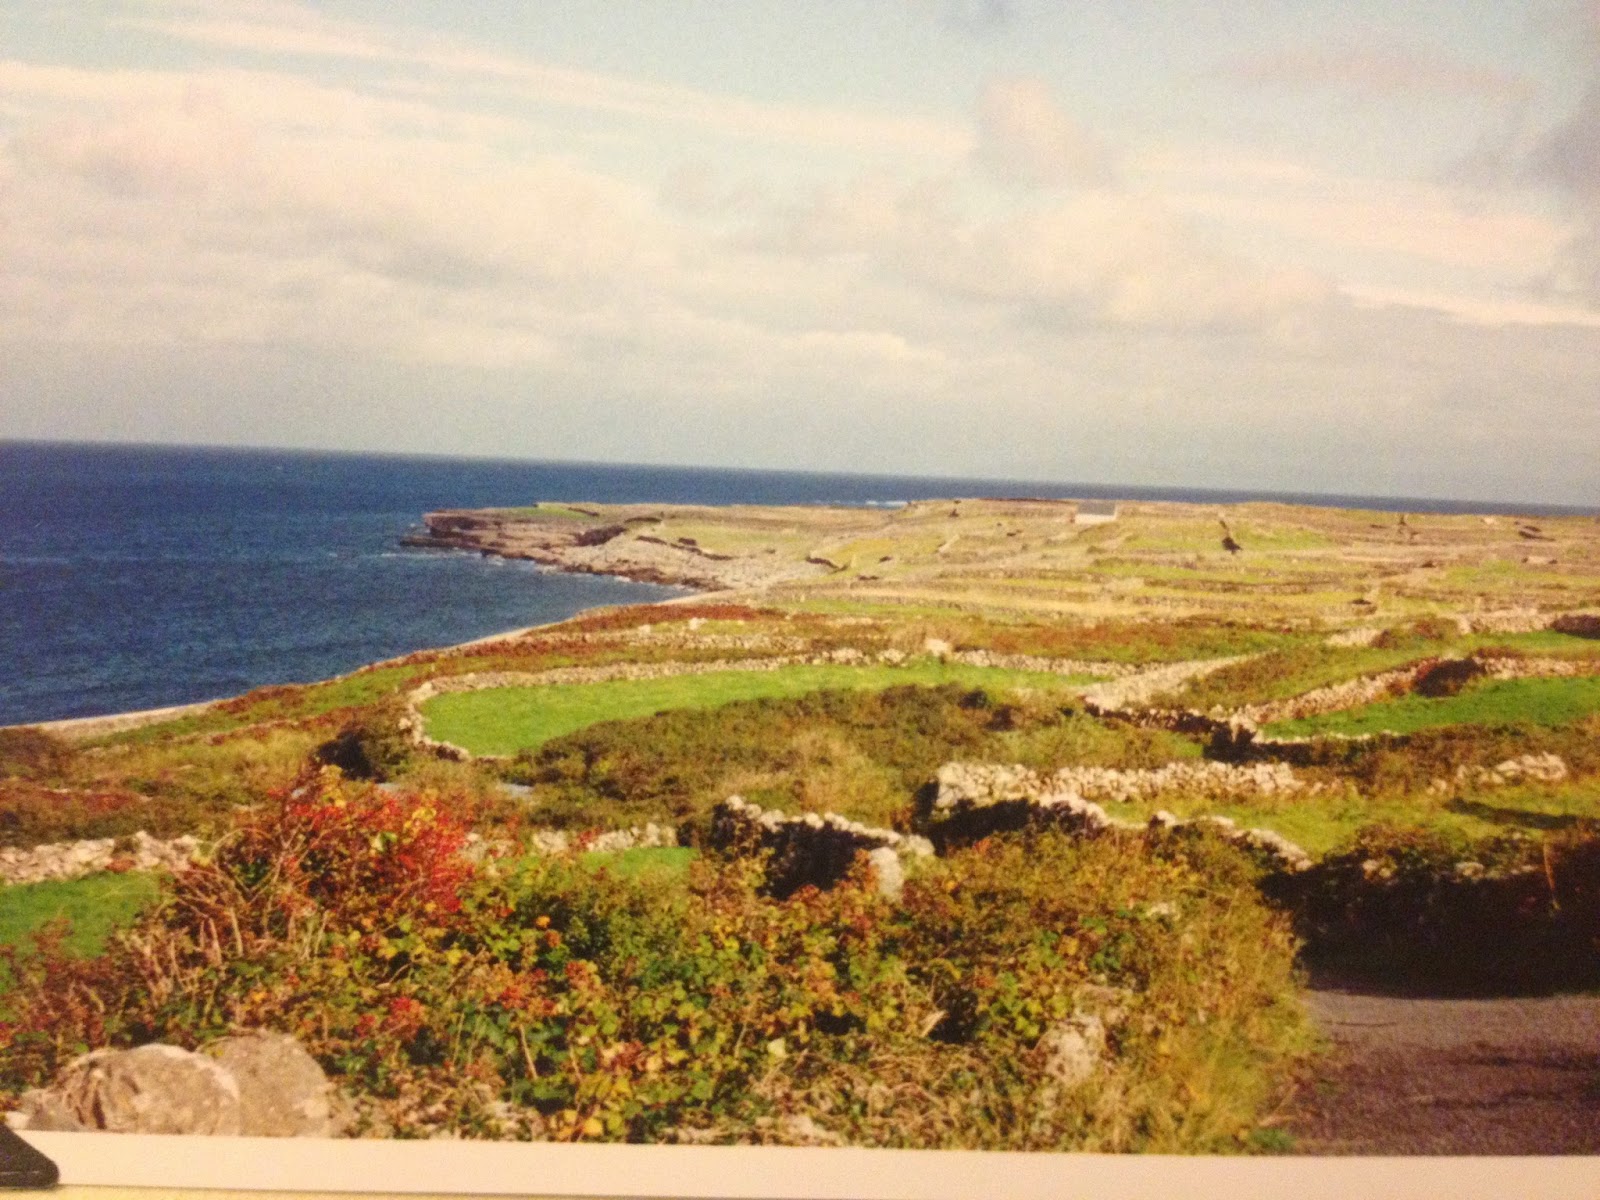
And the Aran Islands. I also wanted to pick up a few souvenirs, including an Aran sweater.


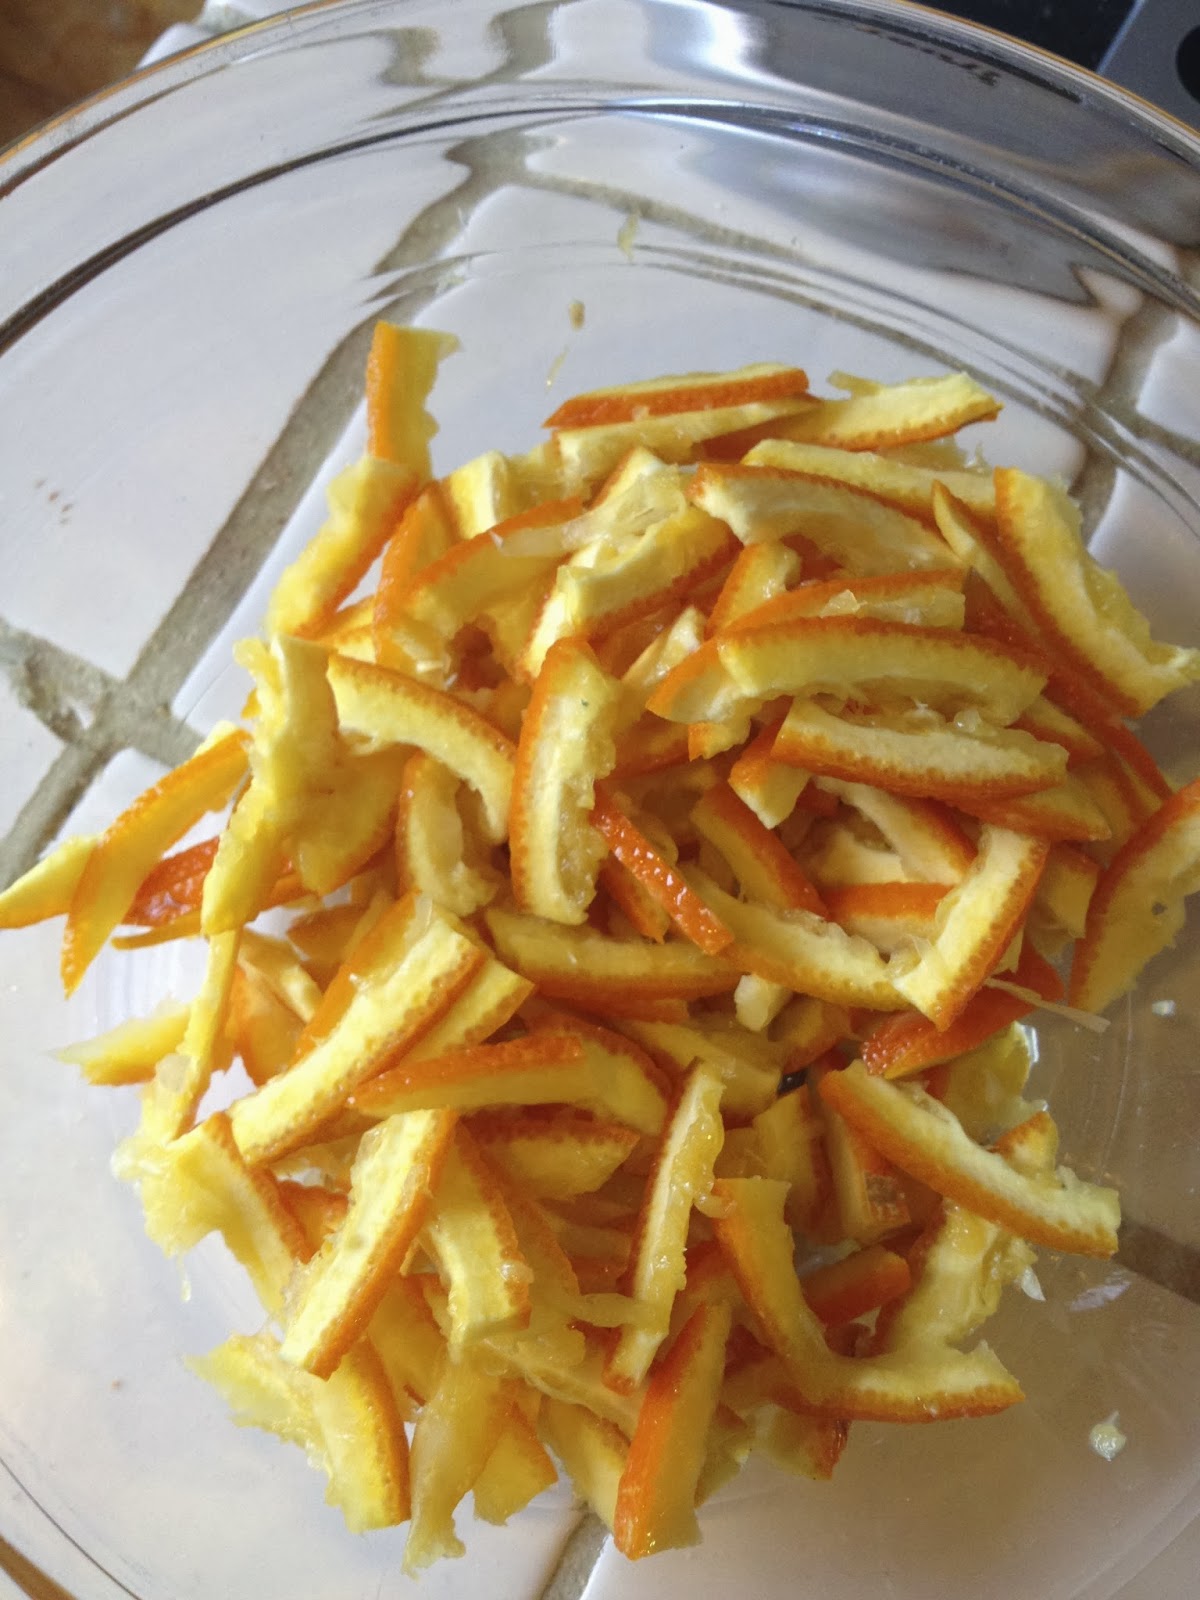
I found a small store on Inishmore that sold some sweaters. Most of them were huge, but I found one the looked like it'd fit, even thought it was on the bulky side. It was hand knit, a pretty cornflower blue with several intricate patterns. Unfortunately I never took a picture of the sweater in its original state, but here’s a picture of some of the original pattern:


Unfortunately once I got it home I realized the fit was bulky and totally unflattering. I probably wore it once. The rest of the time it sat in a plastic bin under my bed with my other bulky sweaters. I'd look at it every once in a while and try it on, hoping that somehow the fit would be different, but it never ended up being more flattering.

Once I started knitting I toyed with the idea of unraveling the sweater and using the yarn for something else. I balked at the idea of ripping it apart, but if I never wore it, what was the point of keeping it?

I held off on giving it serious thought until I found a pattern that seemed to be worth ripping it apart over. After ruminating over a few possibilities over the years that never seemed *quite* worthwhile, I finally found Berocco's Aidez sweater.

Pretty, isn't it? The reviews I read said it was a relatively easy knit. After deliberating for a week I finally separated the pieces of the sweater and unraveled them into balls.

A user on Ravelry.com had converted the pattern from pieces that all had to be seamed together to something that have the body knit in the round, with the sleeves joined to the body and then the rest of it also knit in one piece. After some swatching I picked a needle size and went at it. It was a relatively quick knit, until I got to the collar. The same user recommended knitting it separately and sewing it on. I chickened out on that--as I'd never done separate collar extensions that then had to be sewn on before. That’s one of my major obstacles in knitting—I dither around for quite a while when confronted with a new technique, and this time was no different. I put the sweater in a paper grocery bag and tucked it aside.

Fast forward almost a year later (lame, I know) during a cold snap in Seattle (below 30F, I know a lot of the rest of the country would throw snowballs at me for complaining) I finally pulled the thing out, read the directions for knitting and attaching the collar, and got working on it. I realized partway in that I'd have to knit a longer collar, as there were issues that were created by knitting the sweater in the round instead of in pieces that would make it necessary to make a longer collar. But I muddled on through, and sewed the collar to the body of the sweater without too much trouble.

Afterwards I soaked it in Euclan, a detergent that doesn't require the garment to be rinsed. I'd suspected when unravelling the original sweater that it hadn't been washed or blocked, and once I pulled it out and felt the texture of the yarn change and soften, I knew I'd been right. Good thing too, as blocking it makes it harder (although not impossible) to unravel a garment after the fact.

I laid it on a towel, stretched it a bit to make the cables open up, and let it dry for about 24 hours. I wove in all the ends and tried it on.


It's a pretty good fit! A tad long, but that suits the style of the sweater. I have a short torso, so that's often an issue with sweater patterns for me. Next time I'll try to bear that in mind when knitting from a pattern. But I'm really pleased with it, and it's very comfortable to wear.

I still have a whole front of the sweater that I didn't unravel. I’m thinking I might try to make a fair isle vest out of it, depending on what other colors seem workable for me, and which pattern I choose.

Tuesday, February 4, 2014

Sevilles in Seattle


Winter is citrus season, and January is when the fruit varieties start to surface in some of the higher-end grocery stores. So I wasn’t too surprised when I saw Seville oranges at Whole Foods for $2.99 a pound.

Seville oranges are a sour, highly acidic orange with a lot of seeds. They aren't something you’d want to eat raw or drink the juice of. But they’re a standard ingredient in Cuban cuisine, and are the traditional orange for marmalade.

I’d tried marmalade with Sevilles once before, and ended up having a distressing amount of it burnt on the bottom of the pan. But part of that was because I’d tried to use a shortcut in this recipe from David Lebovitz. I stood there in the Whole Foods, looking at the Sevilles, and decided to give the recipe another go.


Processing the oranges takes a fair amount of time. You squeeze out the juice, remove all the seeds and save them, then slice up the rinds as thin as you can, and in small, bite-sized pieces. I tried to keep them all about 1/4-1/2 inches long.


You bundle up the seeds and whatever membranes came out of the orange when you were squeezing or slicing it in a piece of cheesecloth, tying it tight. Then you cook the rinds with water, a little salt, and the cheesecloth bundle for 30 minutes.

At this point Lebovitz suggests leaving it overnight to let the natural pectin that’s in the seeds leech into the orange and water mixture. I didn’t do that last time, and in trying to get the marmalade to the right consistency ended up cooking the heck out of it, and burning some. This time I cooled it down and put it in the fridge overnight.

The next day I got the canning jars boiling, pulled out the orange mixture and dipped a finger inside. It definitely had a gelatinous quality already. It was liquid, but had a lot more body than an “orange soup” would’ve. I followed the rest of the recipe, adding sugar, putting in a candy thermometer, and getting it to a low-medium simmer.


According to the recipe the mixture is supposed to come up to 220 degrees Fahrenheit for it to set properly. The last 10 degrees takes forever, and I was afraid I was going to burn the bottom again. I kept a few spoons in the freezer and as the marmalade continued to cook I tested the consistency of the set. It was thickening, but not enough. I sat in the living room, knitting and puttering around, getting up every few minutes to stir, look at the thermometer, and make sure it wasn’t burning. I checked various marmalade recipes online to see if any of them allowed a gel at less than 220 degrees. Couldn’t find one. In fact some said you sometimes had to go higher, depending on the amount of water in the recipe.

The temperature had gotten to around 217 or so when I started to smell a slight tinge of burning. I stirred around and saw that a few rinds were caramelizing, but no burning yet, thank God. So I turned the heat down as low as possible and tested the set again.

It was ready. Go time. I turned off the heat and pulled out the last ingredient.


The Lebovitz recipe calls for a tablespoon of scotch. I had Bulleit bourbon, and figured that would work. I stirred it in and it smelled delicious. Oh my God. There’s nothing like loving the smell of something you’re going to can and knowing it’s gonna be hanging out on your shelves waiting to be eaten. Yay.

I pulled the jars out of the water, drained them, and as quickly and as carefully as I could jarred up the marmalade, wiping the rims with a clean, damp paper towel. In the end the set was a tad more solid than I’d like, but I was just grateful I caught it before it burnt this time.


Lebovitz doesn’t can his marmalade, so I looked at other recipes for canning orange marmalade, and ended up processing the jars in boiling water for 10 minutes.


Verdict: it’s the best marmalade I’ve ever made. I’ve done other citrus combos since my disappointing first Seville attempt, and those have been good, but this…is awesome. A great level of bitterness, a teeny amount of extra depth from the bourbon, and just sweet enough. I found myself sneaking spoonfuls out of the jar I put the excess in after starting the processing on the marmalade that was being canned. Definitely worth all the effort, especially given how much I love orange marmalade.