Sunday, January 19, 2014

Spinning Some Yarn

My dear friend Lisa Chan of Gripping Yarns showed me some of the basics of spinning with a supported spindle a couple years ago. She’s a wood turner who makes her own, and it was exciting to learn a new skill from her using one of her spindles. Here’s Lisa herself, demonstrating how to use the spindle:


I played with it for a while, and enjoyed it, but wasn’t getting the results I was looking for, my spinning was a bit too inconsistent. I put it aside, and kept meaning to go back to it and give it another go, but then got distracted by other things.

I was at Weaving Works recently and after picking out some yarns I needed I started to dawdle around the fiber for spinning and felting. Some really pretty Meriboo (70% merino, 30% bamboo) caught my eye—it was really soft, and had a lovely sheen.


When I showed it to my husband later it creeped him out just a bit. He said it looked like human hair to him. Which I got immediately, but to me it had the color and sheen of a dark, shiny pencil mark on a piece of paper. The sample of yarn spun from it at the shop was a soft charcoal grey and had the same shimmer present in the fiber. There were 2 shades of grey there. I bought the rest of the fiber they had in the darker shade, and figured I’d give it a shot.

The spinning went a lot easier than I’d thought it would. I still struggled with making it even—sometimes it was a fair amount thinner than I’d like, other times it was a bit too thick. But I got to the point where the variation was mild enough that it’d make a usable yarn.


As I continued spinning I decided I wanted to make a hat out of the yarn. The simple rib thank you hat from the Purl Bee looked like it would be pretty and easy—and would require the least amount of yarn. But I was pretty sure I didn’t have enough fiber in the dark meriboo to make a hat—they’d only had .6 ounces of it left and I bought all of that color that they’d had. So couple days later I went back to Weaving Works and bought the rest of their meriboo in the lighter grey—I think it ended up being about 1.3 ounces or so. I had a decent amount of the darker fiber spun up already, and thought I’d try spinning the rest in a combo with some of the lighter grey, and then spin up the rest of the light grey fiber separately. Then I’d knit the bottom half of the hat in the dark grey, move into the “half and half” spun yarn, and finish off with the light grey yarn—hopefully making a hat with a slightly ombre effect.

Combining the fibers together was kinda tricky, especially with my novice spinning skills. But I muddled through okay, and then spun up the rest of the light grey on its own.

The next step was plying. Plying involves taking 2 singles, or yarns that I spun, and twisting them together. Lisa loaned me one of her drop spindles a while back, and I used it to ply the yarn together, using this technique:


It was a tad tricky at first, but once I got the hang of it the plying went pretty quickly.


Once I had the yarn spun and plied, the next step was figuring out what size needle to use. So I knit a few swatches:


And then unraveled ‘em (I needed every inch of yarn I’d spun) and started knitting the hat using size 6 needles. Because the pattern was very, very simple, I was able to pay attention to the yarn itself, watching for any irregularities in its thickness in case it became an issue as I knit.


Fortunately that didn’t end up becoming a noticeable problem and I ended up with a soft and very functional hat. I’m really pleased with the way it turned out and will definitely be spinning more for more complicated and interesting hats and garments in the future.


Right now I’m working with tussah silk, making a much finer yarn. It’s a trickier fiber to work with, a lot stiffer, and has a fair amount of barklike matter that needs to be picked out as I spin it. But the beautiful golden sheen it has makes all the effort worthwhile.


I’ll probably make a shawl or scarf out of it—it’ll depend on how much yardage I can get out of it once it’s plied. We shall see how it goes.

Saturday, December 28, 2013

Christmas Knitting


Some years I’ve knitted presents for people. One year I knitted for almost every member of my immediate family. It was a bit of a mad sprint at the end, and a lot more stressful than I’d anticipated it being when I started doing it. I took a couple years off of holiday knitting after that.

For the most part, knitting handmade gifts isn’t exactly cheaper than buying a present. But there really is nothing like a handmade gift, especially if you’ve had the time (and taken that time) to strategize something that could really suit them.

This year I ended up knitting for a couple family members, as well as a few friends who weren’t expecting anything. Christmas for me this year was as much about focusing on giving where it wasn’t expected as it was about décor or decadent food. It was a way for me to remember how blessed I’ve been with friends this year, and I thought about that, sometimes, when I was knitting away.

But first off, I made a shawl for my mom, using the Shaelyn Shawl pattern, which isn’t too challenging a knit but is really pretty.


I knitted this with a single strand of Henry’s Attic Zephyr, which is 50% merino wool and 50% silk. It’s a nice, soft yarn with a pretty sheen and is very low on the itch factor. This was a rather fine gauge knit, on size 3 needles.

The next shawl was for my friend Alison, using some of the same color I used for my mom’s shawl, but double-stranding it with a green color of the same fiber.


This was a chunkier version of the Shaelyn Shawl on size 6 needles, but just as soft.

I made the third shawl using Stephen West’s Boneyard Shawl pattern, double-stranding the blue and green sections with a grey strand of the same fiber (I was pretty obsessed with this fiber, as you can probably tell).


This was also done on size 6 needles.

Miracle of miracles, I did knit something using another fiber! This is one I’ve loved for years, another Henry's Attic fiber, this time alpaca. I did these for my friend Rob and wanted something simple and in a nice neutral. This yarn is all-natural colors, I assume they strand together colors from two different fleeces.

They’re the ribbed hand warmers from Purl Bee. I added a thumb to them, using a 1 x 1 rib on the thumbs so they’d have some texture, and knit them on size 3 double pointed needles.


This hat was done last, for my husband—I had the luxury of knitting it up quick and last-minute, as I could wait until December 25th, if possible, to finish it! I ended up finishing it up the day before. It’s 2 strands of the Henry’s Attic Zephyr (surprise, surprise) and another, slightly lighter red strand of another Henry’s Attic yarn that is 80% alpaca and 20% silk.

This was also a Purl Bee pattern, the large rib “thank you” hat. It’s a great, quick, and satisfying knit.


I also did this on size 6 needles. It was a slightly tighter gauge but had a nice amount of give and wasn’t too stiff.

I gotta admit it’s satisfying to knit up a bunch of presents. It’s fun to pack up some of them and ship them across the country to new homes. And I also like seeing the pile of ‘em before they go out!


In the new year I'm gonna try to start immediately knitting for next Christmas, including a "present project" every 1-2 months. That'll keep my pace regular without making it too stressful. We'll see how that goes.

Christmas in Italy


I made these chocolate crinkle cookies as one of my halfhearted attempts at Christmas baking. I’ve never been able to do a big slog of cookie batches like my mom, my aunts, and my cousin Tine do…but on a good year I’ll do a couple personal faves. Some years it’s cookies, others it’s candy making, which I love as a concept but am less successful at. >These cookies triggered a fun set of holiday memories for me. My mom makes a similar kind of cookie with Sambuca in it. I didn’t remember that until after these were made, but I thought they’d be good with a little Sambuca to sip with it.


It was!

A few years ago my parents celebrated their 40th wedding anniversary. They’d fallen in love with Italy more than a decade before when they’d gone to Europe for the first time while visiting my sister who was studying for a semester in Aix-en-Provence. They went there, and to Paris, but Rome was what really stuck with them. For years after they’d go back and spend a month or so taking Italian classes in a chosen city, eating at little local restaurants or shopping in the markets and cooking at home, and taking trips on the weekends.

They’d stayed in Florence and Venice, but Rome was a city they knew particularly well and loved. For their 40th anniversary they wanted to renew their vows at a local Episcopalian church that was popular with expats from all over the globe, and invited my husband Steve and I to go with them.

My parents got married on December 22, 1967. So we went over to enjoy the city in the few days surrounding Christmas. It was a strange but lovely time to go. All the churches and cathedrals had beautiful nativity scenes. The city had an intriguing level of hushed bustle, a lot of the restaurants were active, the markets were busy and vibrant. The Parthenon sat like a huge marble phantom in a tiny square surrounded by happy, innocuous cafes and stores. There was gelato everywhere.

One afternoon Steve and I had a couple hours to kill before meeting up with my parents for dinner. It was probably a Friday afternoon, and we hit a café/bar right as people seemed to be leaving work and grabbing a drink on the way home. I ordered a Sambuca, and they poured a huge amount in a glass with a lone coffee bean floating rather forlornly in it. I don’t remember what Steve had. But jostling among all the other Romans, sipping Sambuca on a cloudy afternoon, as commuters chattered loudly in Italian all around us, is a seasonal experience I’ll always remember.

Monday, November 25, 2013

Salsa Verde


One of my fave ingredients these days is salsa verde. As a dip for chips and quesadillas, on burgers, on enchiladas, on eggs, or as an additional flavor in soups, I frikkin’ love it. I’ve been making batches close to constantly and so far I haven’t gotten tired of it.

The great thing is that it’s really, really easy.

Set the oven to 400 degrees fahrenheit.

Gather up the ingredients: 2 pounds of tomatillos, 5-6 cloves of garlic, an onion, 1-2 jalepenos, cilantro, lime, and olive oil. Salt and pepper too, I forgot to include ‘em in the picture.


Next, skin and wash the tomatillos (they come with a papery exterior that peels off), and chop them and the onions into relatively the same size. Separate the garlic cloves. I keep them in a couple layers of their papery skin—we’ll push ‘em out after they're roasted. Spread them out into a single layer in 1-2 pans. Drizzle with 2-3 T of olive oil, sprinkle with salt and pepper, and put the pans in the oven.


Roast until browned and the tomatillos are collapsing onto themselves.


Separate the roasted garlic from its papery shell, add some roughly chopped cilantro, and puree the whole thing with a stick blender, or in a regular blender.


Add chopped cilantro and several squeezes of lime juice. Delicious!

Changing Seasons, Taking Stock


Why bother to make stuff from scratch when I could go to a store and pick everything off the shelf? Why go through the effort of canning food, taking the time to make bread, stock and pasta, floundering around in the garden, sewing clothes, or knitting a pair of socks?

For me there’s a few different reasons. First, I like doing it. They’re all hobbies I’m either still struggling with or am getting better at, and in any of those cases I don’t mind spending the time it takes to do them. Second, I like the feeling of control they give me. I know what I’m eating when I eat something I made myself. I know how much work and mistakes it took to preserve something from the garden, or struggle with a pattern before having something that I can use. I take better care of something I’ve made (usually), and I waste less of the food I make myself because I know what it took to make it.

Now that fall is here I’m looking at what I’ve made out of summer, and thinking about fall cooking, knitting, and sewing.


Here’s my canning yield from this summer, one jar each from batches I made. Left to right: Asian shiro yellow plum sauce, blackberry jam, straight shiro plum jam on top of shiro/blackberry jam, pear cardamom jam on top of tomato salsa, tomato jam.

I wish I’d gotten the chance to do some pickling this year, but the timing just didn’t work out for me. Last year I did dilly beans, which were spicy and awesome, and a really good pickle relish. My regular cucumber pickles were kinda uninspiring, not crisp enough. I’ll definitely have to make a point of doing the beans and relish next year.

Now that fall’s here I’m pulling out projects that I’ve knitted or sewn, and working on new projects. Ironically right now I’m working on a very light shawl that’s more appropriate for spring and summer. I’m using a tussah silk yarn that I dyed years ago and never found a good use for:


It’s a simple pi shawl that is pleasant for mindless knitting, good for on the bus.

Next, I need to finish up a sweater I started at the end of last winter. I ripped apart a beautifully-knit sweater I got in Ireland 17 years ago and only wore once, because it was a really, really unattractive fit and I finally realized I was never going to wear it, and started to knit up a new one out of the yarn. I’ll blog about that pretty soon.

Monday, October 7, 2013

"Mmmmm, soup!"


Chicken bones. They’re something that’s easy to disregard and throw out. But there’s also more to get out of them, even when viable meat has been taken off and used up. My mom used to freeze them until she had enough to make chicken stock, and I routinely do that too. The challenge then is to make sure you use ‘em instead of letting them accumulate in corners of the freezer, but usually I keep tabs on them and convert them into stock before they take up too much room. Usually.

It’s pretty easy to do. You need a few vegetables.


Carrots, celery, onion, garlic, some herbs if you have them. Some chunks of ginger can also be good but it’s not necessary. Scrub or peel the vegetables as applicable, chop them into chunks and put them in as large a pot as you’ve got. Put the chicken bones in. If you have whole carcasses from roast chicken take out any lemons or other citrus you might’ve put in the cavity. But you can leave any onions or herbs that roasted with the chicken in the stock pot.


Cover with water, add some peppercorns and a pinch of salt and bring to a boil. After it comes to a boil simmer partially covered, stirring every once in a while. I simmer it for about 4 hours.


Put a big bowl into a roasting pan. Strain the stock in the bowl and put some ice in the roasting pan. Fill the roasting pan with water. This will cool off the stock quicker. Then put the stock in the fridge overnight. You can skim off the fat that rises to the top the next day and toss that. Then you can freeze any stock you don’t immediately use in Tupperware containers. You could also freeze some of it in ice cube trays, then empty the stock cubes into Ziploc bags that’ll stay in the freezer.

The stock is good to have on hand for a quick miso soup, making a dinner soup like split pea (I uses this recipe and add ham hocks or smoked turkey legs) or minestrone, as well as for risotto, which I love.

I froze most of mine and then used a couple cups to make this tomato soup recipe (one of our go-to recipes every fall) with the last batch of tomatoes I got off of our plants. It’s pretty damn easy.

2 cups of stock, 4 pounds of tomatoes, carrot, onion, and basil.


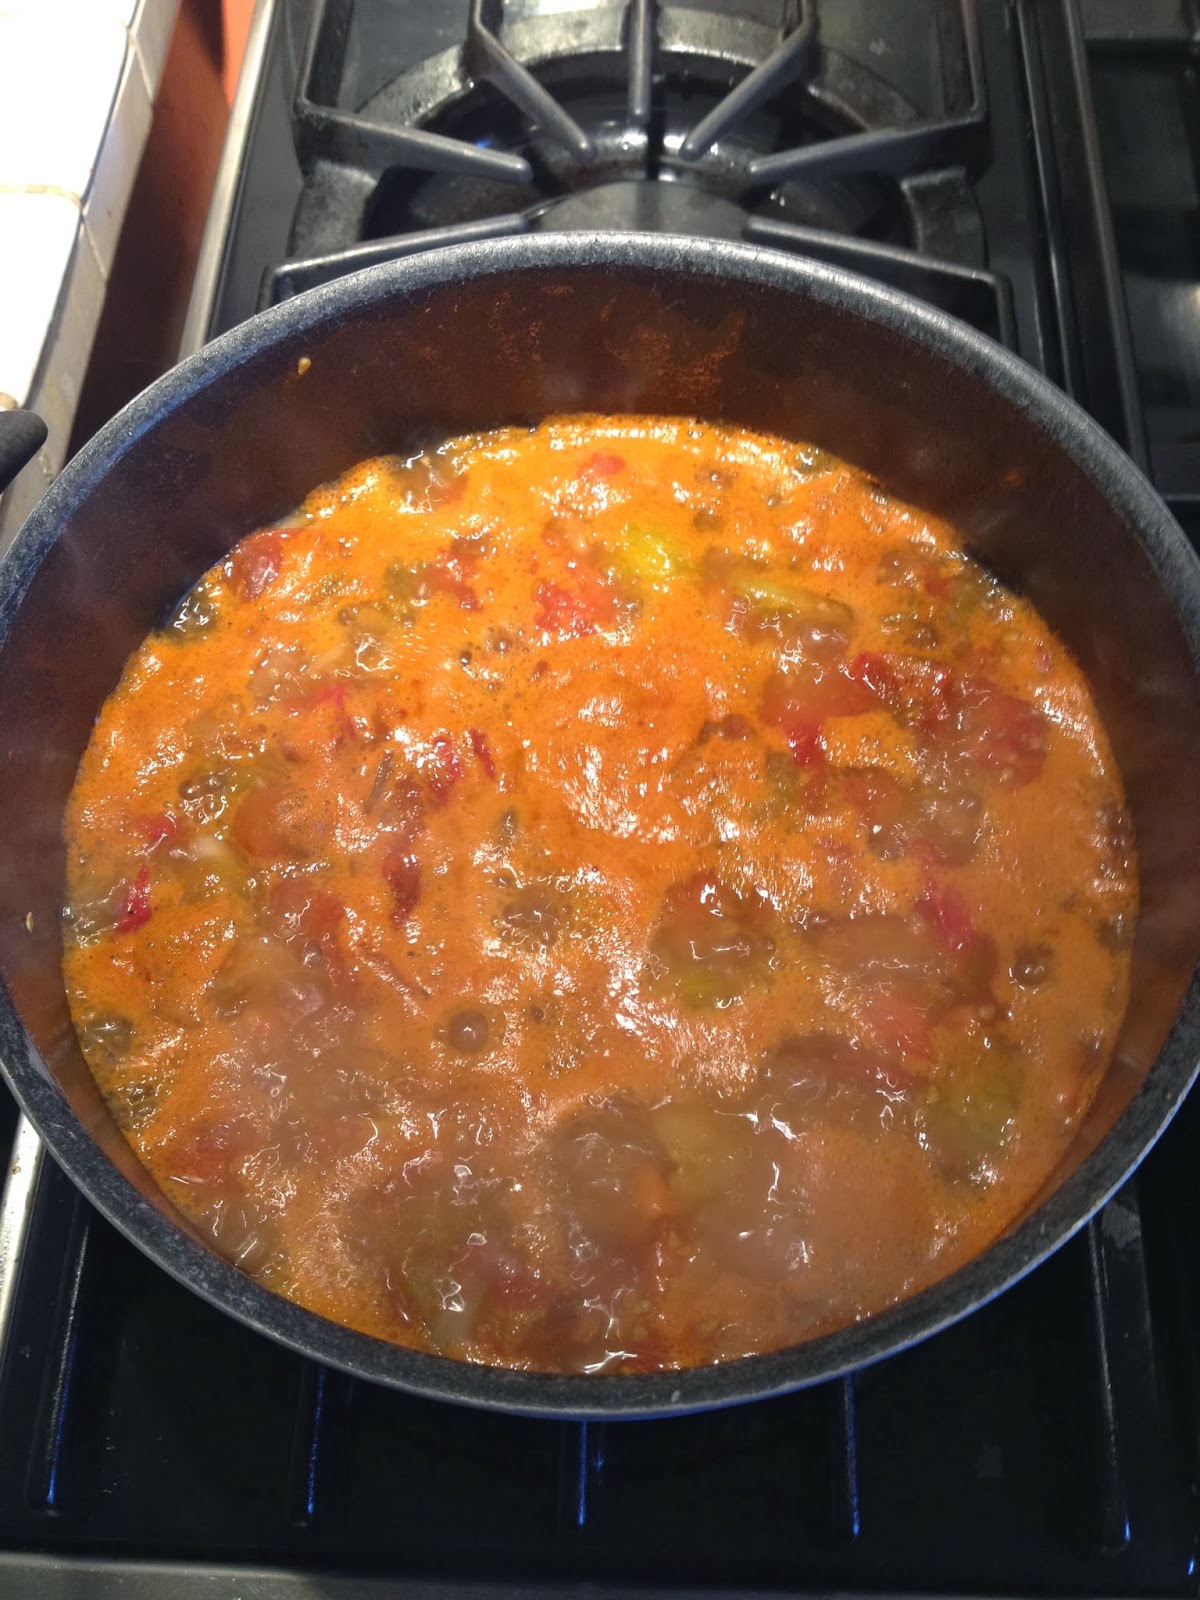
Chop it all up, put into a pot with some salt and pepper, simmer for 30-40 minutes.


Then strain it into a large bowl. I do it using a strainer instead of a food mill, but the food mill would probably work pretty well. I let it sit for a bit, poking at it and making sure as much of the tomato and carrot puree gets through as possible, scraping the bottom of the strainer into the soup in the bowl below.

You can serve it heated up with or without the cream that makes it cream of tomato soup. And as the link states, it’s amazing with grilled cheese sandwiches (which I sometimes put a thin layer of tomato jam on).

And now the inspiration of the blog title which has almost nothing to do at all with soup:


Wednesday, September 11, 2013

Multigrain Bread


French bread is awesome, but sometimes you want a loaf bread. There’s a ton of different types out there. I’m just starting to make some forays in the bread realm, and this book is a great bread baking primer:


The multigrain bread recipe in here isn’t perfect—it makes a small loaf. Sometimes I double the recipe and split it among 3 loaf pans to get a larger loaf. But since I hadn’t made this in a while, I figured I’d just make a single batch to make sure I still had the multigrain mojo.

It calls for a soaker of cornmeal, wheat bran, and rolled oats that soaks overnight in about ¼ C of water. Then it’s added the next day to bread flour, yeast, honey, brown sugar, cooked brown rice, salt, water, and buttermilk. I didn’t have buttermilk so I mixed yogurt with milk to get something of a similar consistency.


Mix it up and knead it until it’s pliant, sprinkling in more bread flour as needed.


Then let it rise. Form into loaves in greased loaf pans and let them rise again.


Then bake in a 350F oven for 30-40 min, rotating pans after the first 20. Once they’ve baked up golden brown, tap them to make sure they sound hollow. Take ‘em out, depan and cool on a cooling rack.


The crumb came out pretty good, and it had a mellow crunch to the crust. It makes great toast—probably because of the grains and the honey and brown sugar, it browns up really nicely. I bet it’ll make good BLTs, even though the bread is on the small side.